Innovation

Making Spot draw anything with diffusion and GCode
At Osedea, we recently decided to put our skills and creativity to the test by hosting a 16-hour hackathon focused on AI. This event was designed not only to challenge our team but also to explore the cutting-edge capabilities of AI and robotics. The hackathon environment fosters a spirit of innovation and collaboration, encouraging participants to think outside the box and push the limits of what’s possible within a limited timeframe.
The hackathon was made even more exciting thanks to the generous sponsorship from Modal Labs, who provided us with $5,000 worth of serverless compute credits. This support enabled us to access high-end GPUs like the H100s, crucial for the heavy computational tasks required for advanced AI models. Adding to the excitement, being partners with Boston Dynamics, we had our two Spot robots (Spot and Dot) at our disposal. These versatile robots are capable of performing a wide range of tasks, and their advanced mobility and manipulation capabilities made them the perfect candidates for a 16-hour project. Altogether, this gave us a unique opportunity to combine state-of-the-art AI with cutting-edge robotics, setting the stage for an innovative project.
With my colleagues Robin Kurtz, our dedicated Spot handler, and Cassandre Pochet, our clean code extraordinaire, we embarked on an exciting project to showcase the potential of AI and robotics working together. Our goal was to teach Spot to draw objects based on voice commands, a task that would combine complex components like speech recognition, image generation, and precise robotic control.
The challenge
Our primary challenge was to enable Spot to interpret an audio command and then draw the corresponding object using diffusion models. This required us to tackle several key components:
- Audio capture and speech recognition
- Image outline generation
- Conversion of outlines to G-code
- Integration with Spot's drawing capabilities
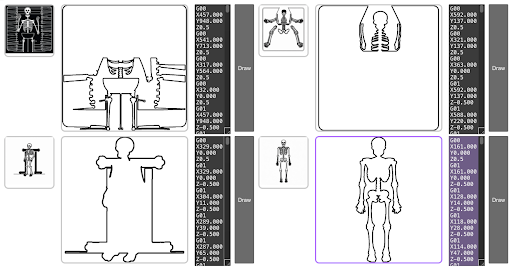
G-code: the language of CNC Machines
To understand how we planned to control Spot's drawing arm, it's essential to grasp what G-code is. G-code is a language used to instruct CNC machines and 3D printers on how to move. It includes commands for various types of motion and control, such as:
For our project, we focused on the commands supported by the Spot SDK, specifically G00, G01, G02, G03, and M0.
Step 1: speech to text with Whisper and OpenAI
To instruct Spot on what to draw, we needed an effective speech recognition system. We chose Whisper's base model for converting spoken words into text. Whisper provided robust performance, although we encountered some issues with french accents. These challenges, however, were not insurmountable, and Whisper successfully captured the necessary commands from our speech.
With the text commands in hand, we employed OpenAI's GPT-4o to interpret the intent behind the text. GPT-4o extracted the specific object we wanted Spot to draw, providing a clear directive for the subsequent steps.
Step 2: SVG generation with Stable Diffusion XL
With the object identified, the next task was generating a simple outline of the image. We leveraged Stable Diffusion XL, a powerful open-source text-to-image diffusion model, to create these outlines. Using modal we setup an inference endpoint in just a few minutes using a A10G GPU. With this endpoint we now had the ability to generate an image of any object whilst trying to force a certain style that would allow us to extract an outline to turn into an SVG. The post-processing of the image involved several steps using OpenCV:
- Grayscale Conversion: This step removes color information, simplifying the image and making edge detection more effective. By converting the image to shades of gray, we focused solely on the intensity of light, which is crucial for detecting edges.
- Gaussian Blur: Applying a Gaussian blur helps in reducing image noise and detail, which is particularly useful for edge detection. This step smooths the image, reducing high-frequency noise and making the main features more prominent. It essentially helps in creating a cleaner and more defined edge structure.
- Canny Edge Detection: This technique identifies the edges in the image. The Canny edge detector works by finding areas of rapid intensity change, which usually correspond to edges. It involves several steps, including noise reduction, gradient calculation, non-maximum suppression, and edge tracking by hysteresis, to produce accurate and clean edge maps.
- Dilation: This process thickens the detected edges, making them more distinct and easier to convert into paths for SVG. Dilation works by adding pixels to the boundaries of objects in an image, which helps in connecting broken parts of edges, making them continuous and more robust for further processing.
Step 3: Enhancing Consistency with an LLM Powered Election
To overcome the consistency issues inherent in generalist diffusion models like Stable Diffusion XL, we included an evaluation module. This approach essentially involved brute-forcing an outline by generating multiple images simultaneously. Out of four image generations, there was typically one or two images good enough for Spot to draw. We generated these four images in parallel and used GPT-4o's multimodal features to determine which image was both the easiest to draw and the most similar to the original object. This simple yet effective implementation yielded excellent results without the need for extensive fine-tuning, albeit at the expense of increased computational resources for inference.
Step 4: SVG to G-code conversion
Once we had a clear outline in SVG format, the next step was to convert it into G-code. We developed a custom SVG to G-code conversion function using svgpathtools to read the paths accurately. A significant challenge we faced was the sheer number of G-code lines generated from detailed SVG paths. The needlessly large amount of GCode instructions led to a lot of stuttering from Spot. To manage this, we initially implemented a strategy to selectively skip lines, ensuring a balance between drawing accuracy and simplicity. Upon further research, we landed on the Ramer–Douglas–Peucker algorithm an iterative end-point fit algorithm that simplifies the amount of points in a line by finding similar longer line segments.
.gif)
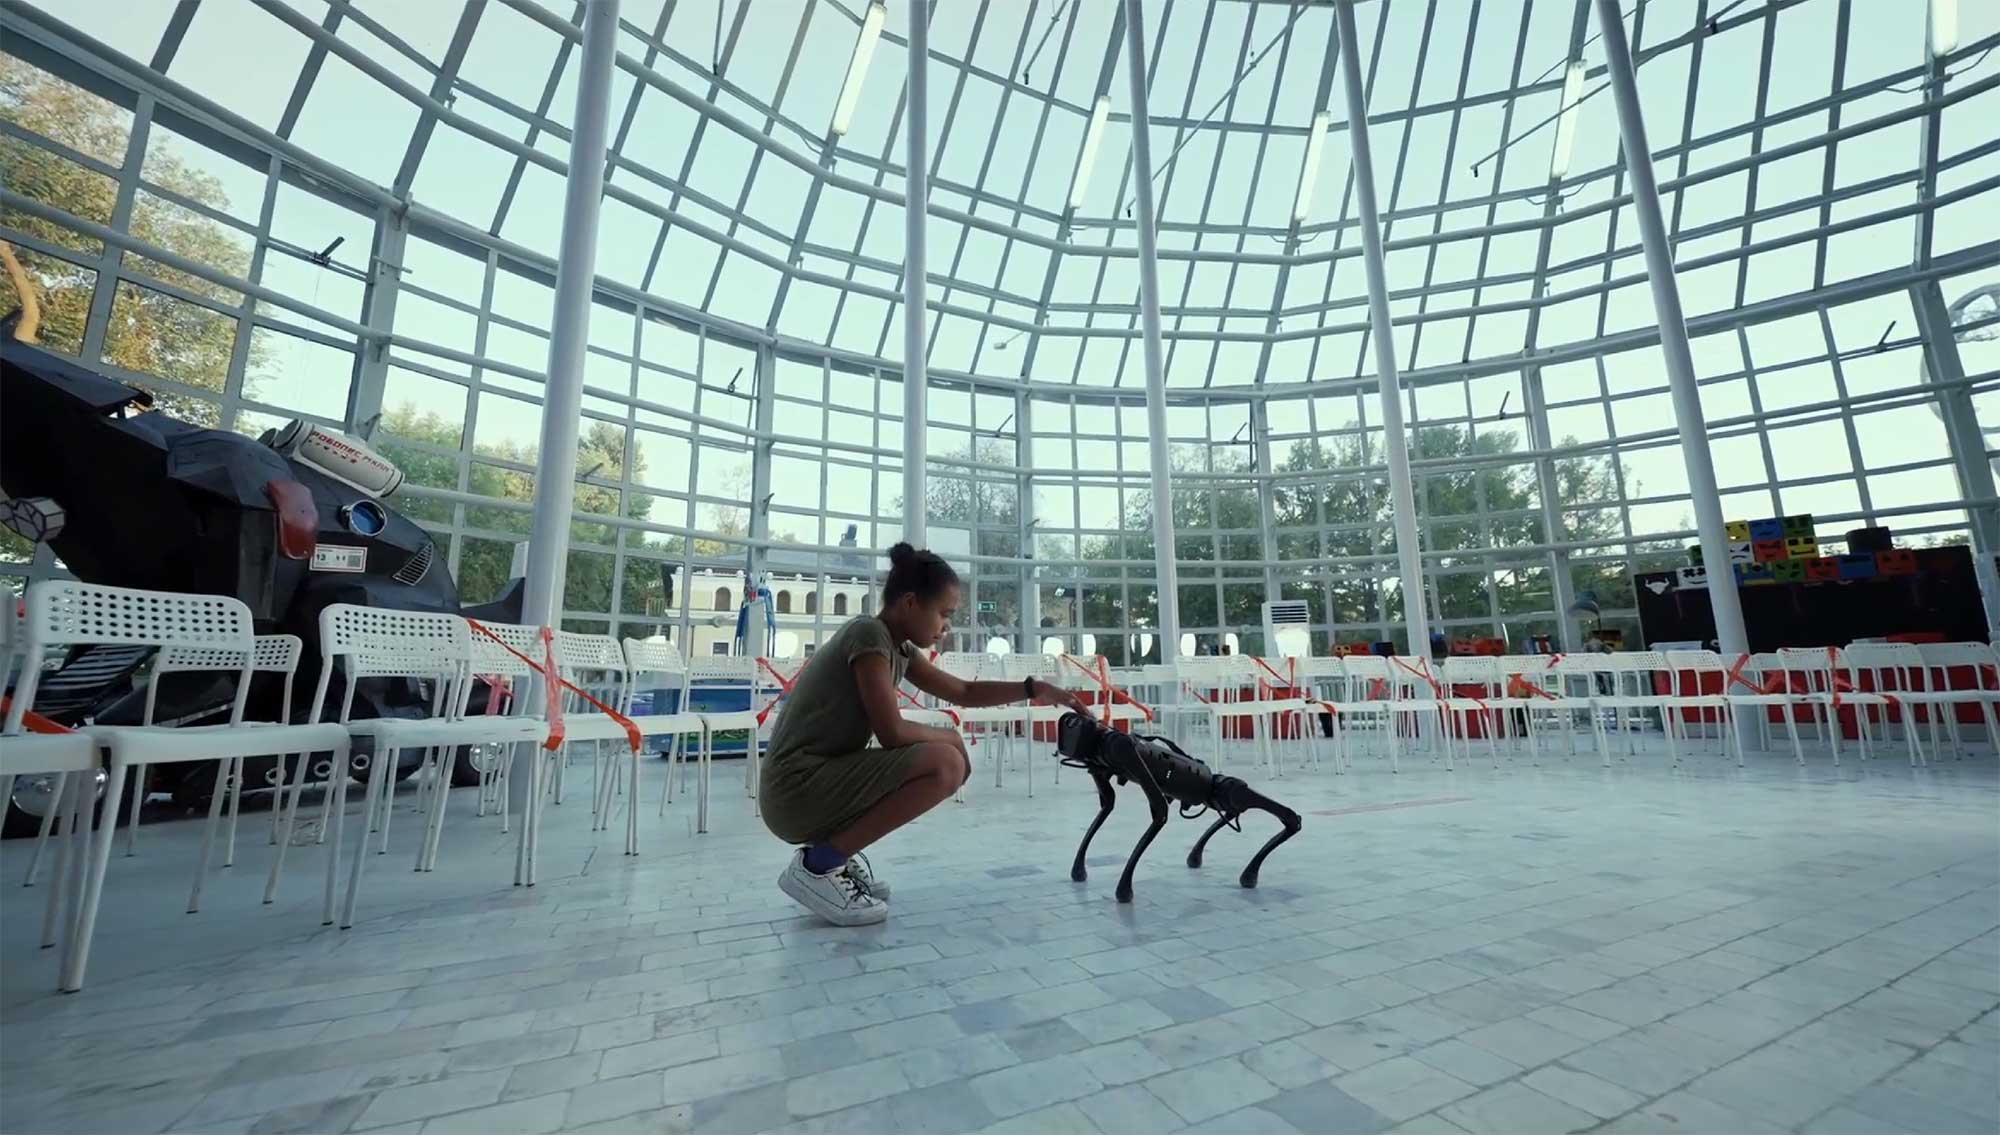
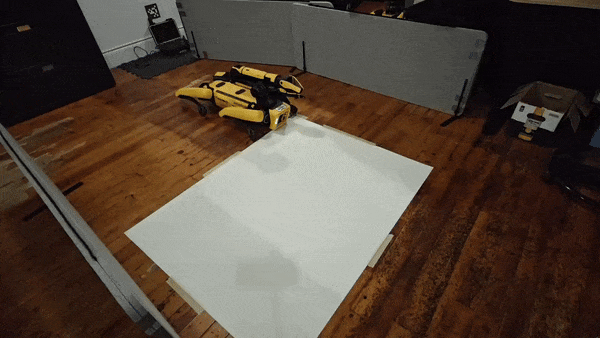
Step 5: integrating with Spot
The final step was to send the G-code to Spot for drawing. We started with Boston Dynamics' arm_gcode example, adding an API layer to trigger the drawing process from our frontend.
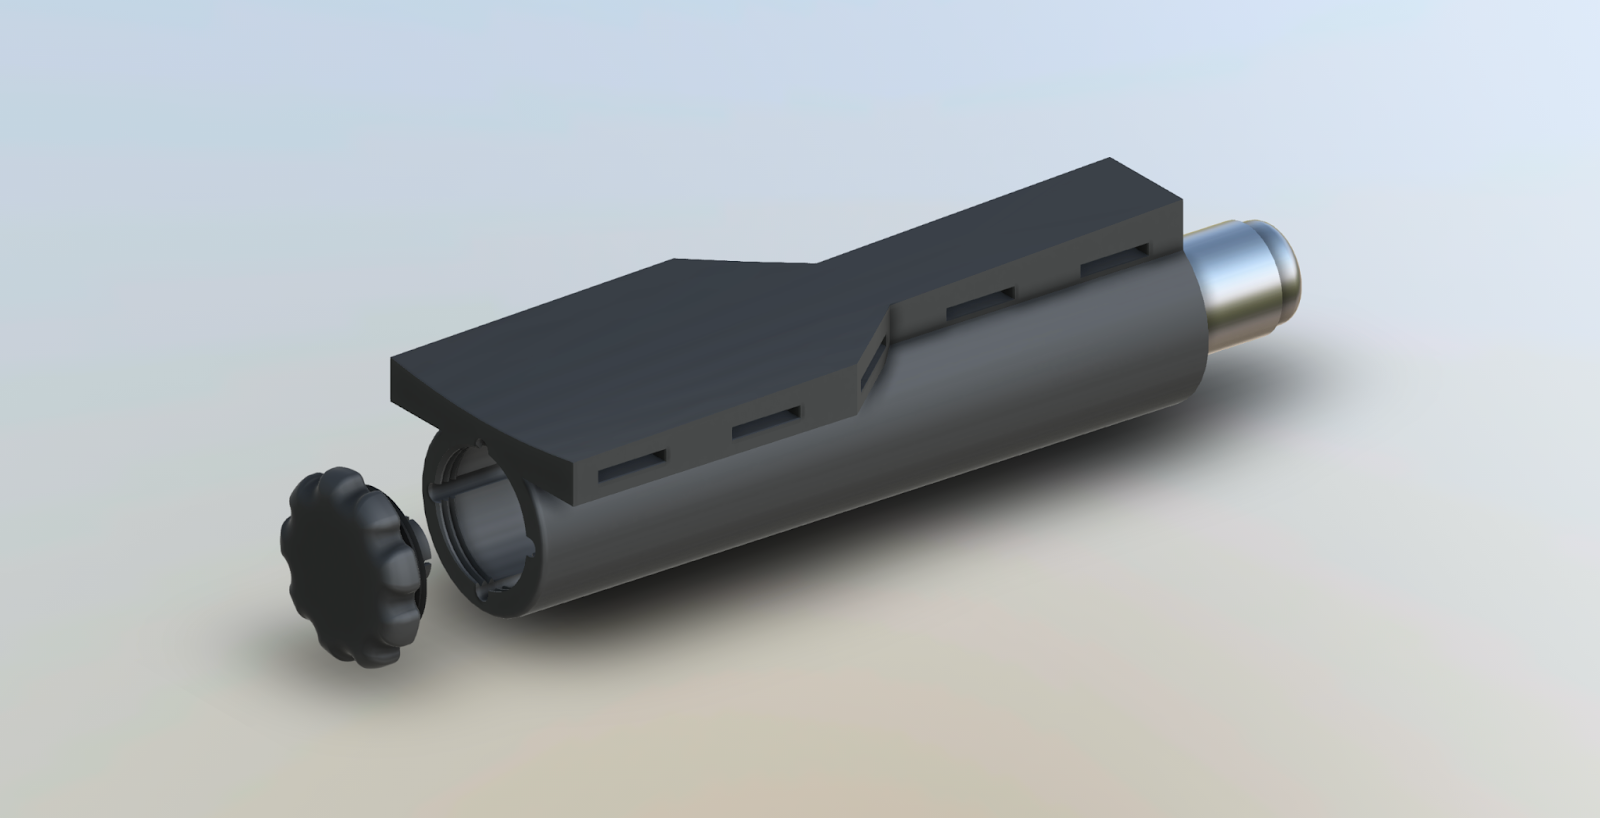
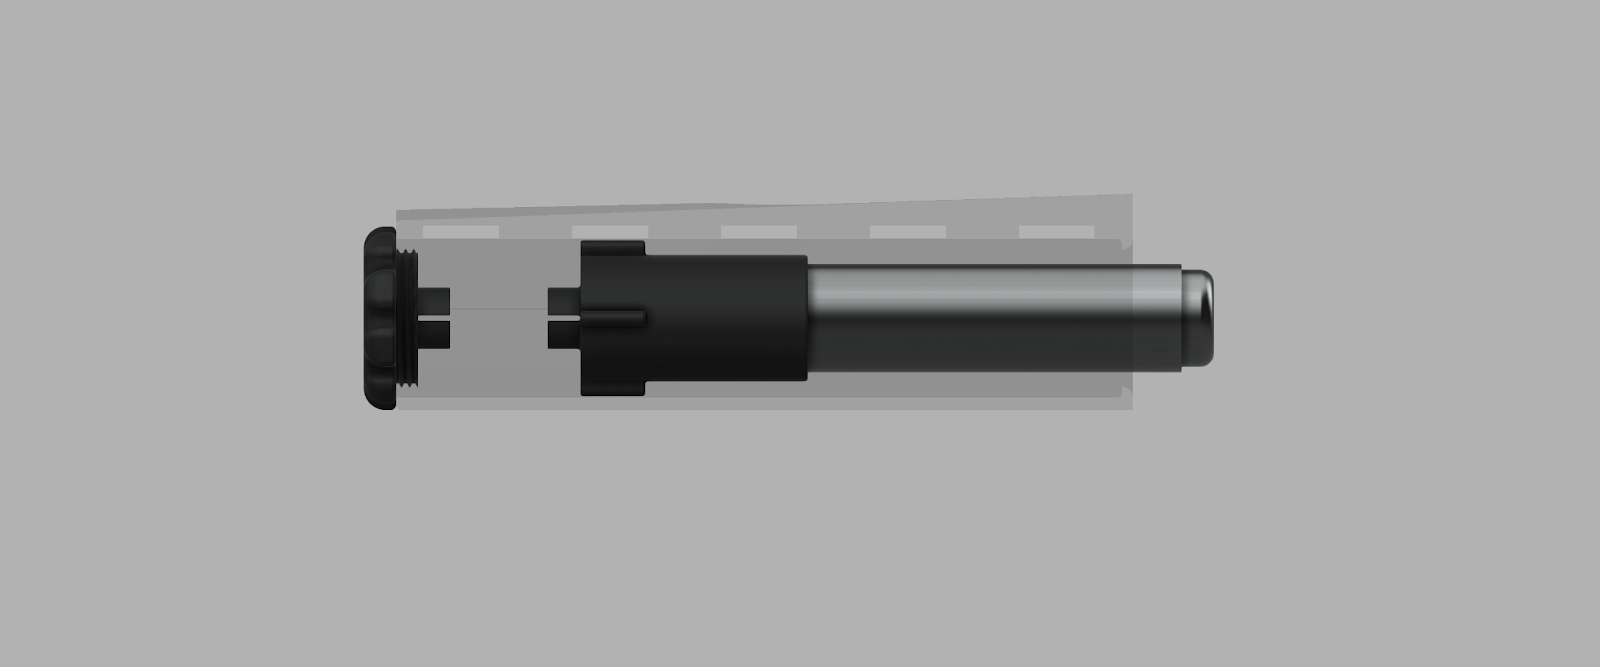
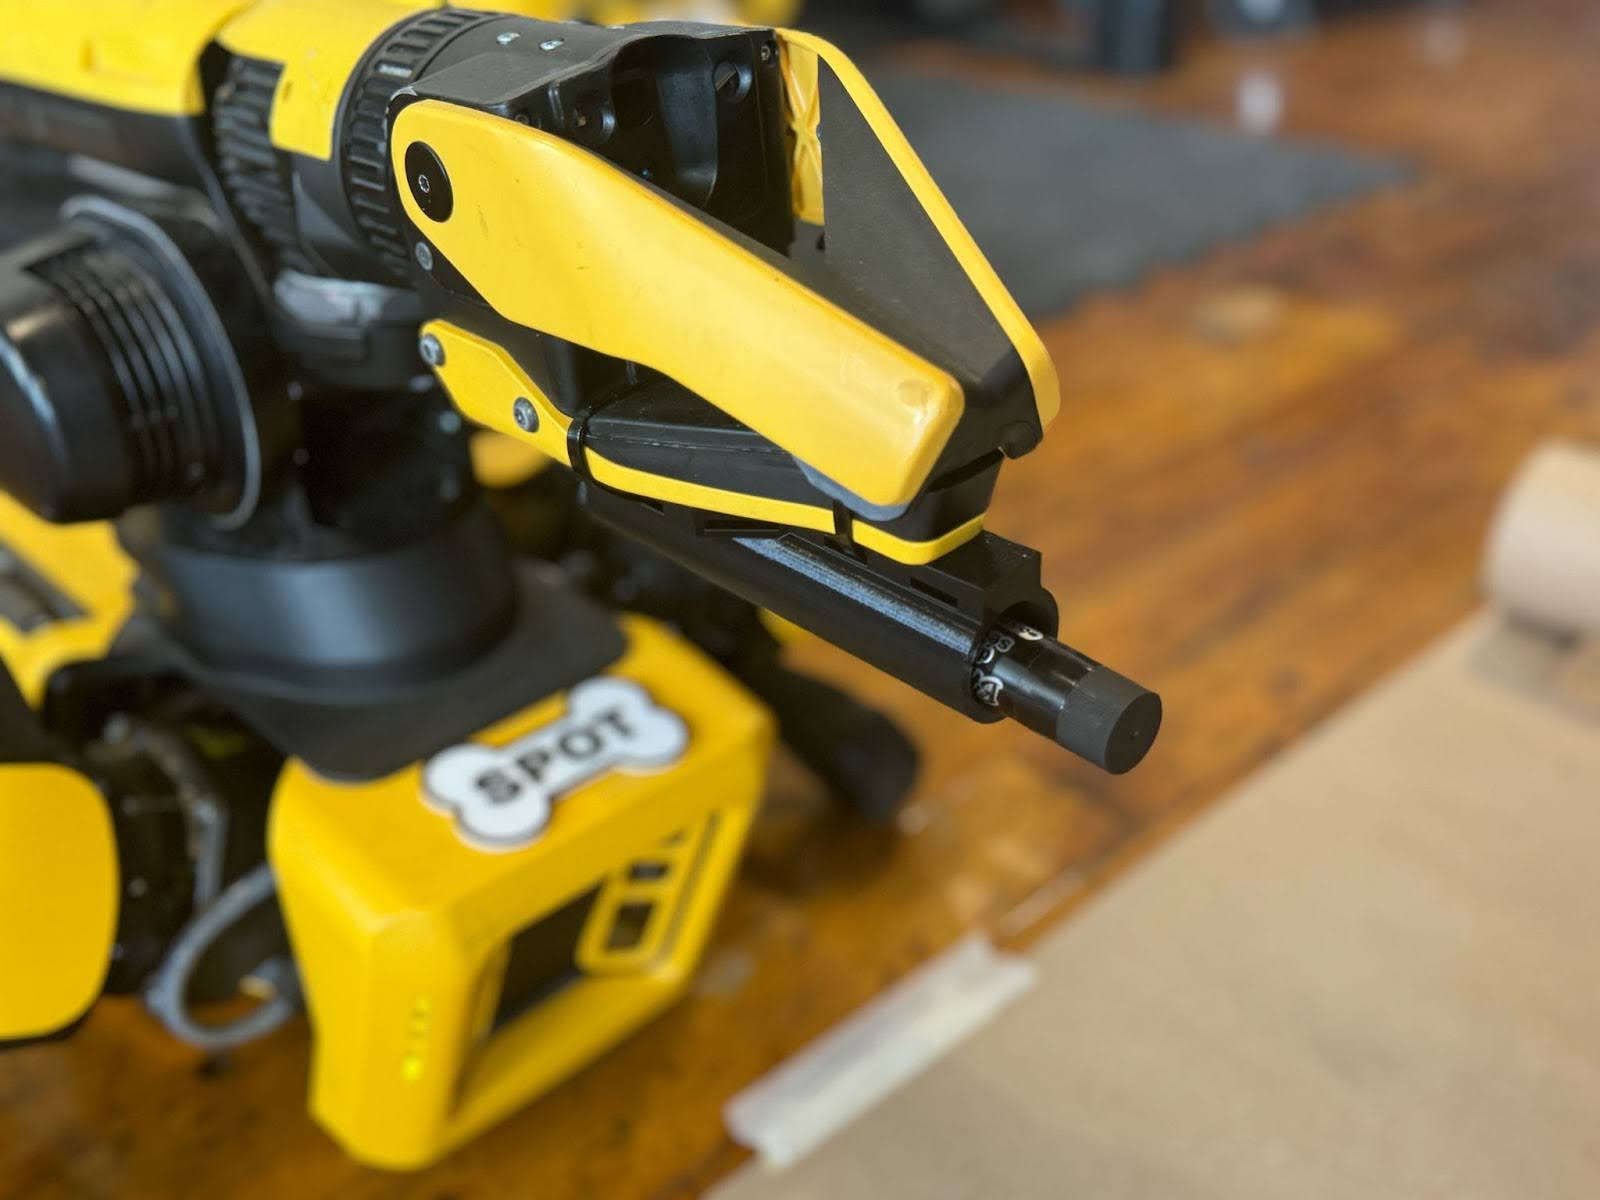
Apart from the software component, we also needed to fix a marker to Spot’s gripper (arm Payload). Luckily, Robin had worked with similar projects before and had some 3D printed components lying around which allowed him to achieve what we needed. While this was working for our PoC, it came with some issues.
Since the marker was fixed to Spot without any sort of flex, we often rammed the marker into the floor and the added friction made it hard for Spot to trace along the provided path. This resulted in drawings that were a little less polished than we desired. We allowed ourselves to expand on the project outside the confinements of our hackathon to try and solve this problem. The solution was relatively simple, we needed to add a spring to the marker or drawing implement to allow some give.
To achieve this, Robin took to Fusion 360 to design a cylindrical part, that would hold a “Washable paint stick” with a friction fit to allow for color swapping, fixed with a spring. The change in drawing media, and the spring allows for less friction against our canvas, resulting in a smoother drawing.

After some trial and error, and some meticulous adjustments, we successfully enabled Spot to draw objects based on audio commands!
Overcoming challenges
Throughout the hackathon, we faced several challenges, each requiring innovative solutions:
- Speech Recognition: Accents posed initial difficulties, but Whisper's robustness allowed us to capture commands effectively.
- Image Consistency: Generating consistent and drawable images with Stable Diffusion XL required fine-tuning.
- SVG to G-code Complexity: Managing the large number of G-code lines involved strategic implementations of path simplification algorithms.
- Drawing Precision: Ensuring accurate marker pressure and relative placement on the “artboard” required precise calibration, given Spot’s body movement during drawing.
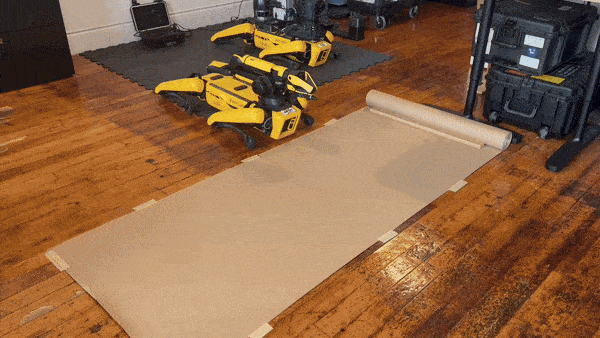
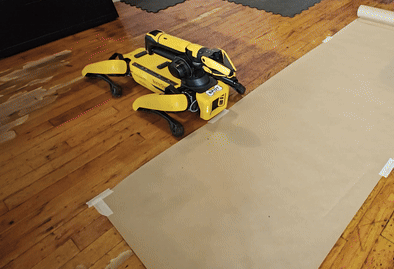
Demonstrations and results
Despite the challenges, the results were impressive. Spot, affectionately dubbed "Spot Ross," produced several drawings based on our voice commands. These demonstrations showcased the potential of integrating AI and robotics in creative applications.
.gif)
The hackathon was a testament to the rapid advancements in AI and robotics. In just 16 hours, we managed to combine various AI models and robotic elements to achieve remarkable results. Moving forward, we aim to refine our prototype by fine-tuning the diffusion model for more consistent generations, exploring vertical drawing capabilities and larger-scale projects using chalk. Additionally, given more time, extracting the subject using a semantic segmentation would yield much better outline results and we plan to explore this avenue further.
A big thank you to Osedea and Modal Labs for supporting this innovative venture. The future of AI and robotics looks incredibly promising, and we're excited to continue pushing the boundaries of what's possible.
Did this article start to give you some ideas? We’d love to work with you! Get in touch and let’s discover what we can do together.

.jpg)